5-Axis Shoe Last CNC Milling Machine Tutorial: Master Shoe Mold Processing in No Time
16 03,2026
Tutorial Guide
New to the 5-axis shoe last CNC milling machine DC6070? This guide systematically explains the entire shoe mold processing workflow, from basic equipment structure and rotary table operation to Syntec controller programming techniques. Incorporating real-world case studies and practical parameter optimization advice, it helps beginners avoid common mistakes and boost efficiency by over 30%, serving as an efficient入门指南 for shoe mold manufacturing.

So you've just invested in a five-axis shoe last CNC milling machine – congratulations! This powerful tool can transform your shoemaking process, but let's be honest: getting started can feel overwhelming. Many new operators spend weeks just figuring out the basics, while others struggle with avoidable mistakes that cost time and materials. The good news? With the right guidance, you can master your DC6070 in record time and start producing precision shoe molds with confidence.
Understanding Your Five-Axis Shoe Last CNC Milling Machine
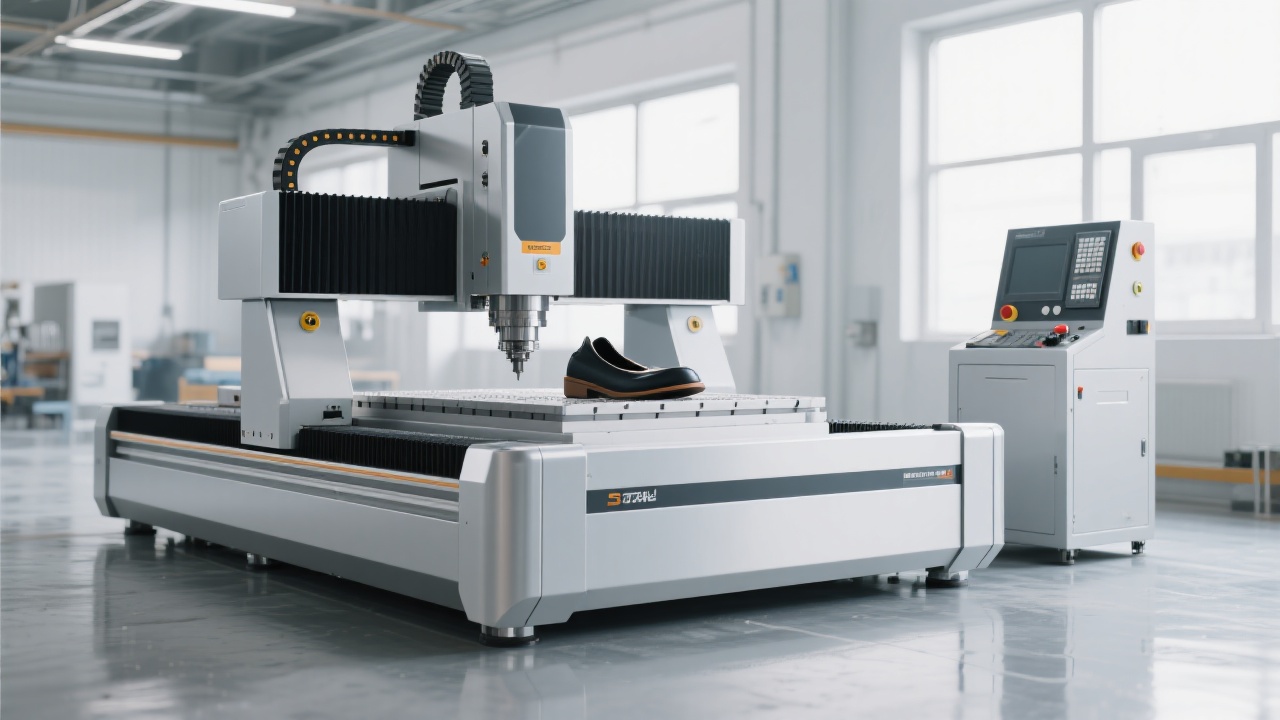
Before diving into operations, let's familiarize ourselves with the core components that make your machine tick. The DC6070 from KaiBo CNC combines three linear axes (X, Y, Z) with two rotary axes (A, C), giving you the flexibility to machine complex shoe last shapes from every angle.
"The difference between good and great shoe mold production lies in understanding how each component works together. New operators often overlook the relationship between the rotary table and spindle speed, leading to suboptimal results." – Senior CNC Engineer, KaiBo Technical Team
Key Components and Their Functions
- Rotary Worktable: Enables precise rotation (A-axis: ±120°, C-axis: 360° continuous) for multi-angle machining without repositioning the workpiece
- High-Torque Spindle: 15,000 RPM with 7.5kW power ensures efficient material removal even for hardwood and composite materials
- Syntec Controller: Intuitive interface with advanced G-code processing for complex toolpath execution
- Automatic Tool Changer: 16-tool capacity reduces setup time between operations
Step-by-Step Operation Guide
1. Pre-Operation Preparation (5 Minutes)
Start your workflow on the right foot with these essential checks:
- Verify power supply (380V, three-phase)
- Check spindle oil level and lubrication system
- Inspect tool holders for tightness and cleanliness
- Warm up the machine for 5 minutes at 30% spindle speed
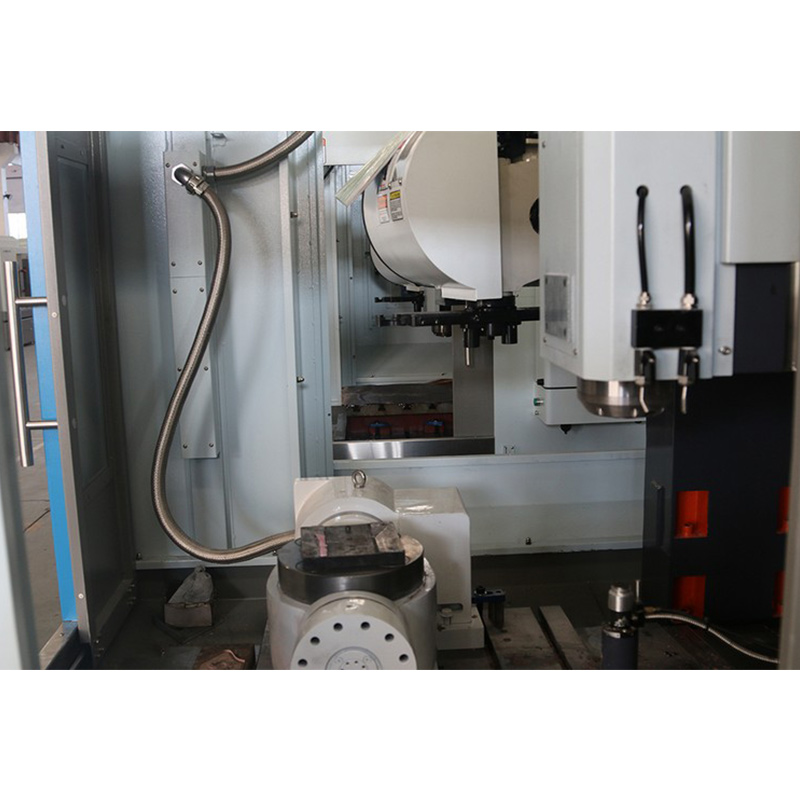
2. Workpiece Setup and Clamping
Proper clamping prevents vibration and ensures machining accuracy. Follow these steps:
- Secure the shoe last blank using a 3-jaw chuck or vacuum fixture
- Perform manual tool setting to establish workpiece zero point
- Confirm clamping force (recommended: 45-55 Nm for hardwood blanks)
- Double-check clearance between workpiece and machine components
3. Toolpath Setting and Parameter Optimization
The Syntec controller simplifies programming, but these parameters will maximize your efficiency:
| Material Type |
Spindle Speed (RPM) |
Feed Rate (mm/min) |
Depth of Cut (mm) |
| Hardwood (Maple/Beech) |
8,000-10,000 |
800-1,200 |
0.5-1.5 |
| PU Foam |
12,000-15,000 |
1,500-2,500 |
2.0-3.0 |
| Resin Composite |
10,000-12,000 |
1,000-1,800 |
1.0-2.0 |
Pro Tip:
For high-heel shoe lasts, reduce feed rate by 15% when machining the heel curvature and increase spindle speed by 10% for smoother surface finish. This simple adjustment can reduce finishing time by up to 25%.
4. Common Issues and Troubleshooting
Even experienced operators face challenges. Here's how to solve the most frequent problems:
- Vibration During Machining: Check tool balance, reduce overhang length, or decrease feed rate by 20%
- Surface Roughness: Increase spindle speed, check tool sharpness, or adjust stepover percentage to 50-60% of tool diameter
- Tool Collision: Verify workpiece coordinate system, check for proper tool length compensation, and run simulation before actual machining
- Thermal Deformation: Allow machine to reach operating temperature, use coolant for extended operations, and avoid machining near heat sources
Maintenance Essentials for Long-Term Performance
Proper maintenance not only extends your machine's lifespan but also ensures consistent precision. Follow this schedule:
Critical Maintenance Tasks
- Daily: Clean guide rails, check lubrication levels, inspect spindle for abnormal noise
- Weekly: Replace coolant, clean filter, check tool changer alignment
- Monthly: Calibrate rotary axes, inspect harmonic drive for backlash, test emergency stop function
- Quarterly: Replace spindle oil, check ball screw tension, verify axis perpendicularity
Ready to Transform Your Shoe Mold Production?
Mastering your five-axis shoe last CNC milling machine doesn't have to take months. With these proven techniques, operators typically see a 30% increase in productivity within the first two weeks.
Download the Complete DC6070 Operation Guide
Have a specific challenge with your shoe last machining process? Share your experience in the comments below or contact our technical support team for personalized assistance. Remember, every master was once a beginner – with the right tools and knowledge, you'll be producing precision shoe molds in no time.


